Photographing wildlife can be loads of fun, but also very challenging.
By following the nine wildlife photography tips set out in this article, and backing this up with lots of practice out in the field, you can’t help but take great images.
1 – Watch and observe
It isn’t just the technical information that will help you get better images of wildlife. Even before you pick up a camera, there are some important things you should do. Getting to know your subject gives you a much higher chance of nabbing that shot. Observing an animal before going out to photograph it is very important. In a lot of cases you will see a pattern emerge. It could be a specific movement the animal makes just before jumping away or flying off. Or it could be the fact that each day, at a particular time, the subject (or subjects), turn up briefly at one spot to feed, preen or perform a courtship display. By knowing this daily habit, you can set yourself up with a camera in hand, and wait….
2 – Aperture priority or manual setting
I strongly recommend using aperture priority when photographing wildlife. That way you are in control of the depth-of-field required and camera’s shutter speed will change accordingly, depending on the light conditions around at that time. If wanting to photograph a moving animal, a higher shutter speed is needed. With aperture priority, this can be done by increasing the ISO, which in turn increases the shutter speed. It is easy enough to increase the shutter speed by increasing the camera’s ISO, but there is another option. If your camera has the feature available, you can also use the Auto ISO setting. I suggest setting the ISO parameters so that it won’t allow a high ISO, which can result in images with too much noise (or grain, in the old film terms). By using the auto ISO setting, it’s one less thing to think about when out in the field. The camera’s shutter speed will remain at a minimum speed, no matter what the lighting conditions are like. You can also set your camera to manual, choose the aperture and shutter speed you require and select the auto ISO option. By doing this, you are in control of both the depth-of-field you require and the minimum shutter speed, while letting the ISO change accordingly.
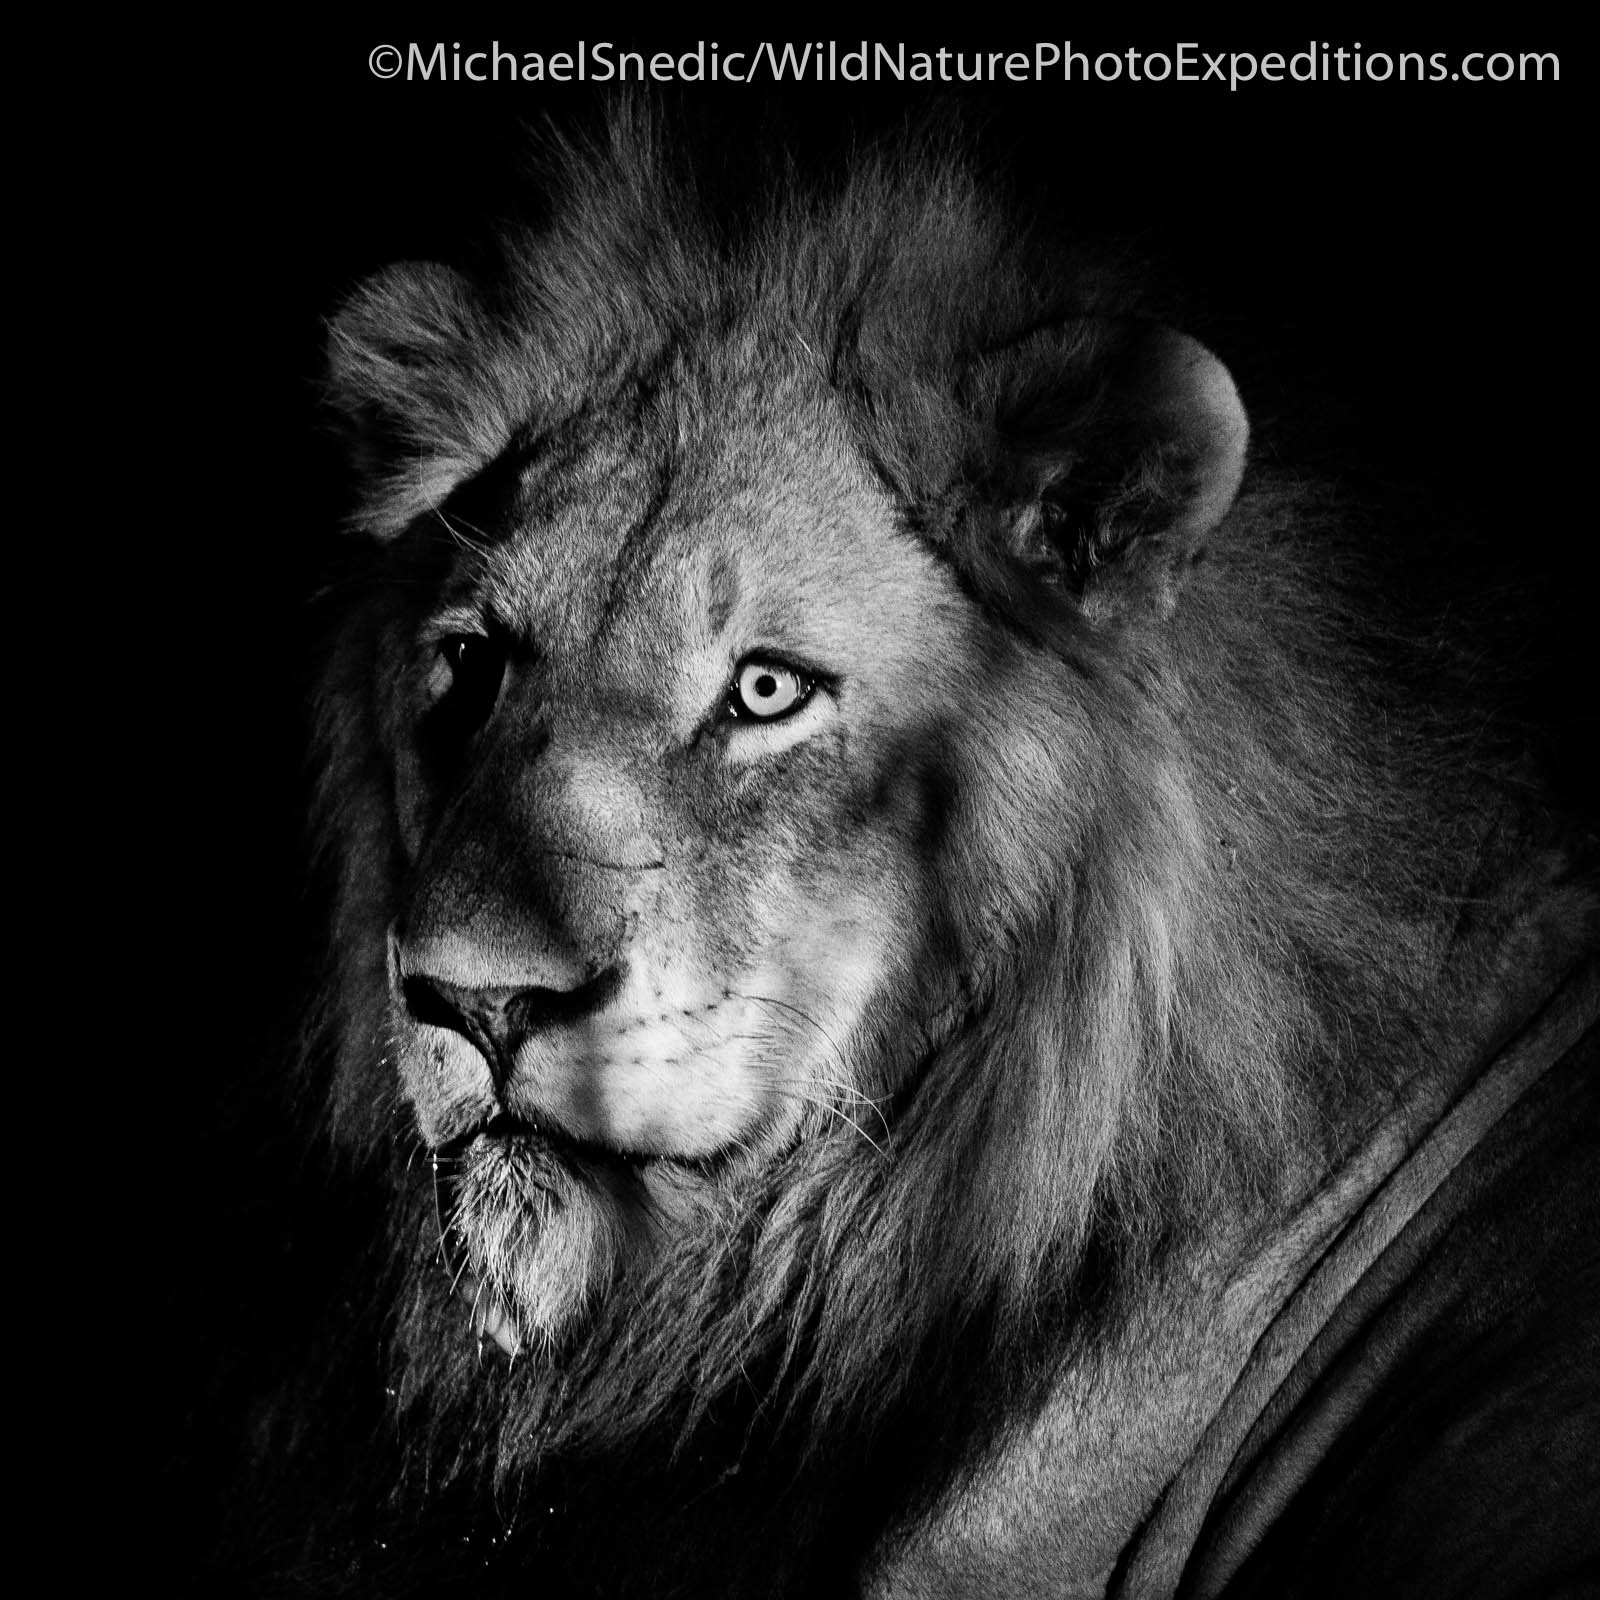
3 – It’s all about the eyes
When I started out in wildlife photography over 21 years ago, one of the very first things I learned was to focus on the eyes of an animal. Whether it’s both eyes staring straight at you or just one eye side-on, it’s paramount that the eye(s) are sharp and clear, otherwise the image is ruined. You can do this by choosing the single focus point and moving it around using the camera’s toggle, until it focuses on the animal’s eye. Another option, when using the camera’s single focus style, is to focus on the eye using the central focus point. Follow this by half-depressing the shutter button, keeping your finger on the button, then moving your camera to recompose the image as desired.
4 – Why is my image too dark or too bright?
If you are photographing a white animal in a bright environment, you need to use positive exposure compensation using aperture priority, as the camera’s metering turns the scene to grey. Take a quick shot and then look at the histogram or the image on the back of the camera’s LCD screen. If the image is still too grey/dark, increase the exposure a tad more, to say +1.3 , +1.7 or even +2 until you have the desired exposure (i.e. clean whites). For a black subject in a dark environment, do the reverse and use negative (-) exposure compensation. This will bring out the detail in the blacks.
5 – The advantage of back-button focusing
Many SLR camera models and makes have back-button focusing as a feature. This setting is invaluable for wildlife photography, especially for capturing birds-in-flight and other moving subjects. Explained simply, back-button focusing allows you to focus on the animal you are photographing by pressing a button on the back of your camera, then depressing the shutter button to take the shot. This setting is very useful for photographing a bird flying in a parallel line. With the camera’s focus-point on the bird, keep following it as it is flying, finger half depressed on the shutter. When the bird is in a good position, simply let go of the focus button and take a series of shots (make sure you also use continuous shot or burst). Even though you have let your finger off the focus button, your focus will remain on the bird as it is flying past, rather than focusing on the background. It may take a bit of to get used to back-button focus, but with practise it will become second-nature.
Scroll down for more wildlife photography tips.
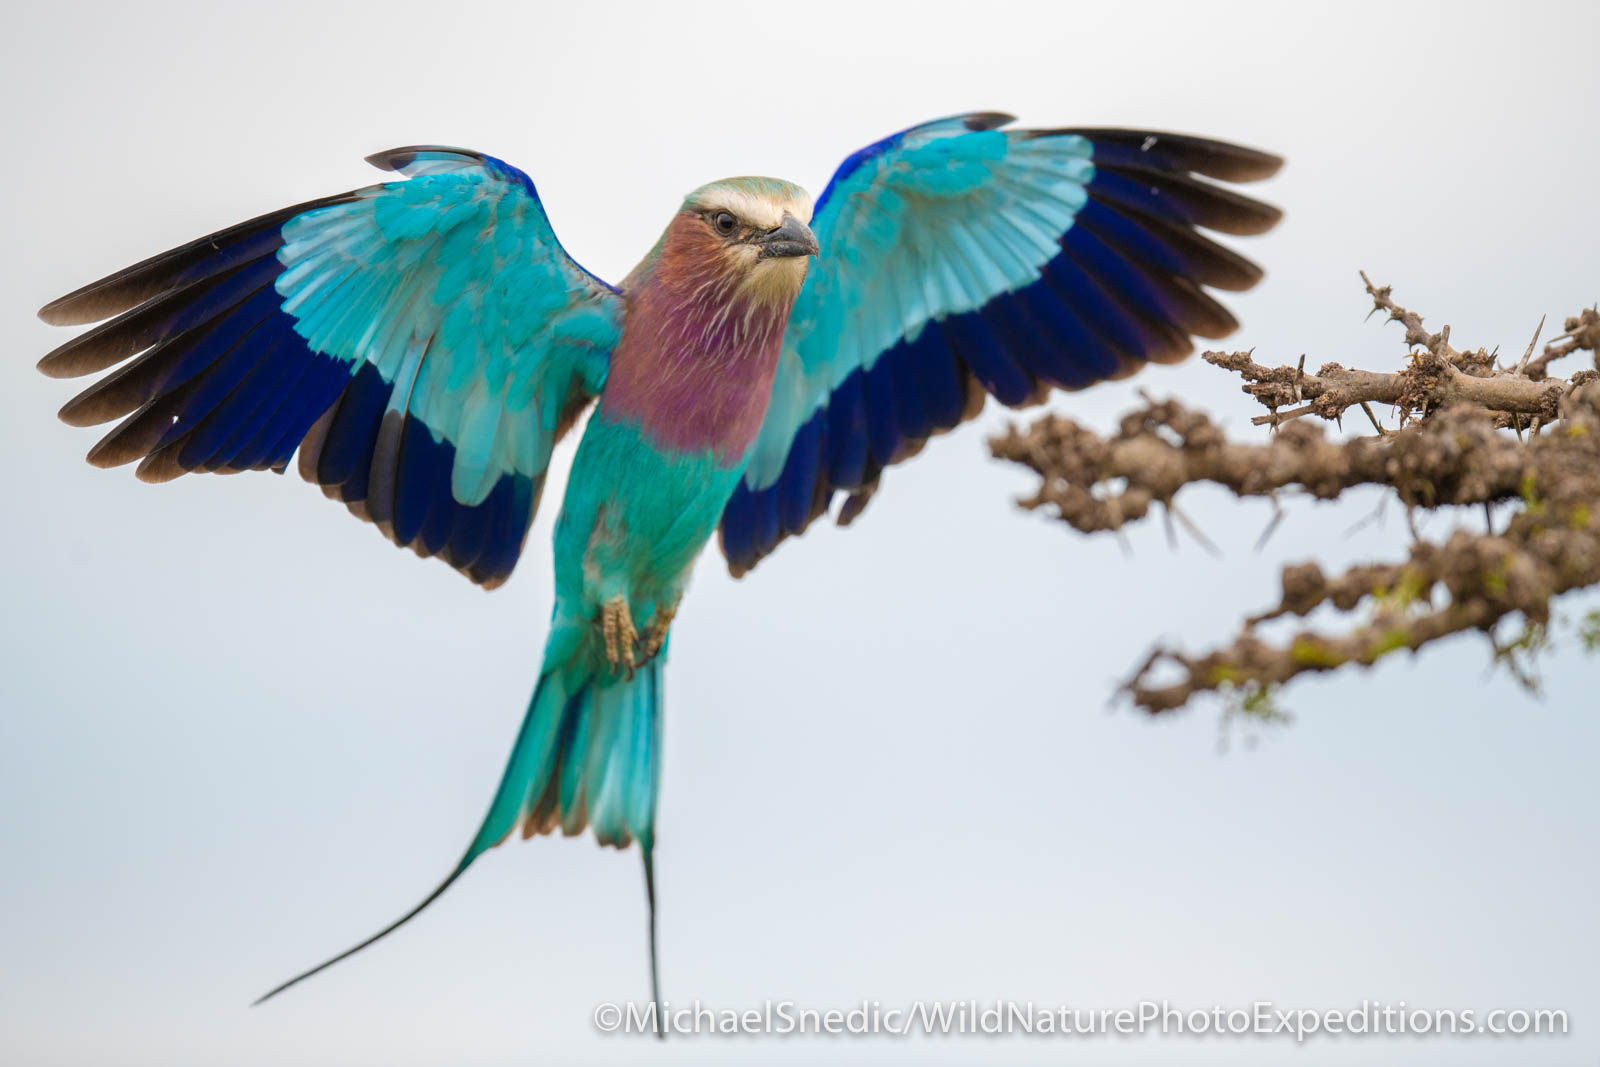
6 – Composition essentials
One of the most important aspects of creating great photos of wildlife, is good composition. You can own the most expensive photographic equipment, use all the correct settings and have the patience of a saint, but without composing the image well, it simply won’t work. Avoid composing your subject so that it sits directly in the centre of your image. By doing this, it looks too staged or set-up. Try composing in a way so that the subject’s eye or head crosses over the intersecting rule-of-thirds lines. If there are two or more animals in the image you are about to take, focus on the one in the front or the one that is most prominent. By using a wide aperture, you can blur out the other subjects, drawing the viewer’s eye to the one you have focused on. If you wish to have all the animals in the group in focus, reduce the aperture size (higher number).
7 – Flash techniques explained
Over the years, many of my photo workshop participants have said that they struggle to get decent shots using flash. The settings I’m about to explain here are tried-and-tested and work well. They are my own, personal settings that I have explained to lots of workshop students for many years and they work!
For SLRs, set the camera to manual mode. Use a wide aperture (as you would normally for wildlife), set the shutter speed to 1/125th of a second and the ISO to 100. Connect the external flash to the camera’s hot shoe and select TTL (Through The Lens) or B-TTL metering. Take a shot and check the exposure. As long as you aren’t too far away, you should get decent exposure, as most external flash units aren’t powerful enough over long distances. If quite close to the subject, I recommend adding a diffuser to the flash, which helps to create soft, natural lighting. If the image is still too bright, even with an added diffuser, you can also reduce the power of the flash in increments of one third of a stop, available on most flash models
There are various twin flash arms that can be connected to the hot shoe, which allows for two flash units to be used. The benefit of this is that the image will be much more evenly lit and also minimises the chance of Red Eye, resulting sometimes from attaching a flash directly on top of the camera via the hot shoe. The reason Red Eye occurs in the eyes of your subject is that the direct light from the flash bounces off the animal’s retina and straight through the lens, creating this unsightly effect.
Scroll down for more wildlife photography tips.
8 – Common pitfalls
There are a few pitfalls to watch out for when photographing wildlife:
One of the most common pitfalls is concentrating so hard on the actual individual being photographed, that your eye misses unsightly distractions in the background. Watch out for trees or other structures sticking out the back of the subject’s head.
Photographing a bird straight up a tree from directly below doesn’t look good. Try moving back, giving you a much better angle to photograph.
Watch that shutter speed! So often I see people photographing in low-light conditions and hear the sound of a very slow shutter going off. A guaranteed blurry shot!! Either increase the ISO (to increase the shutter speed), stabilise the camera/lens or use flash.
Don’t always try and fill your frame with the animal. Sometimes taking a shot of a stunning scene, where the animal is a very small part of it, can make for a great environmental image.
When photographing in a zoo or wildlife park through glass and using flash, I suggest positioning the camera/lens/flash at an angle against the glass. This stops the flash bouncing off the glass and straight into the lens, causing unsightly flares and ruining the shot.
9 – Creating silhouettes
One of the ultimate shots for many photographers travelling to Africa, is to get a shot of silhouetted giraffes against a fiery, orange sunset. This can be achieved by exposing for the background, making for a lovely orange sunset (rather than a totally burnt out background), while at the same time keeping the giraffes totally black.
Article by Michael Snedic, wildlife photographer and founder of WildNature Photo Expeditions
Visit Michael’s site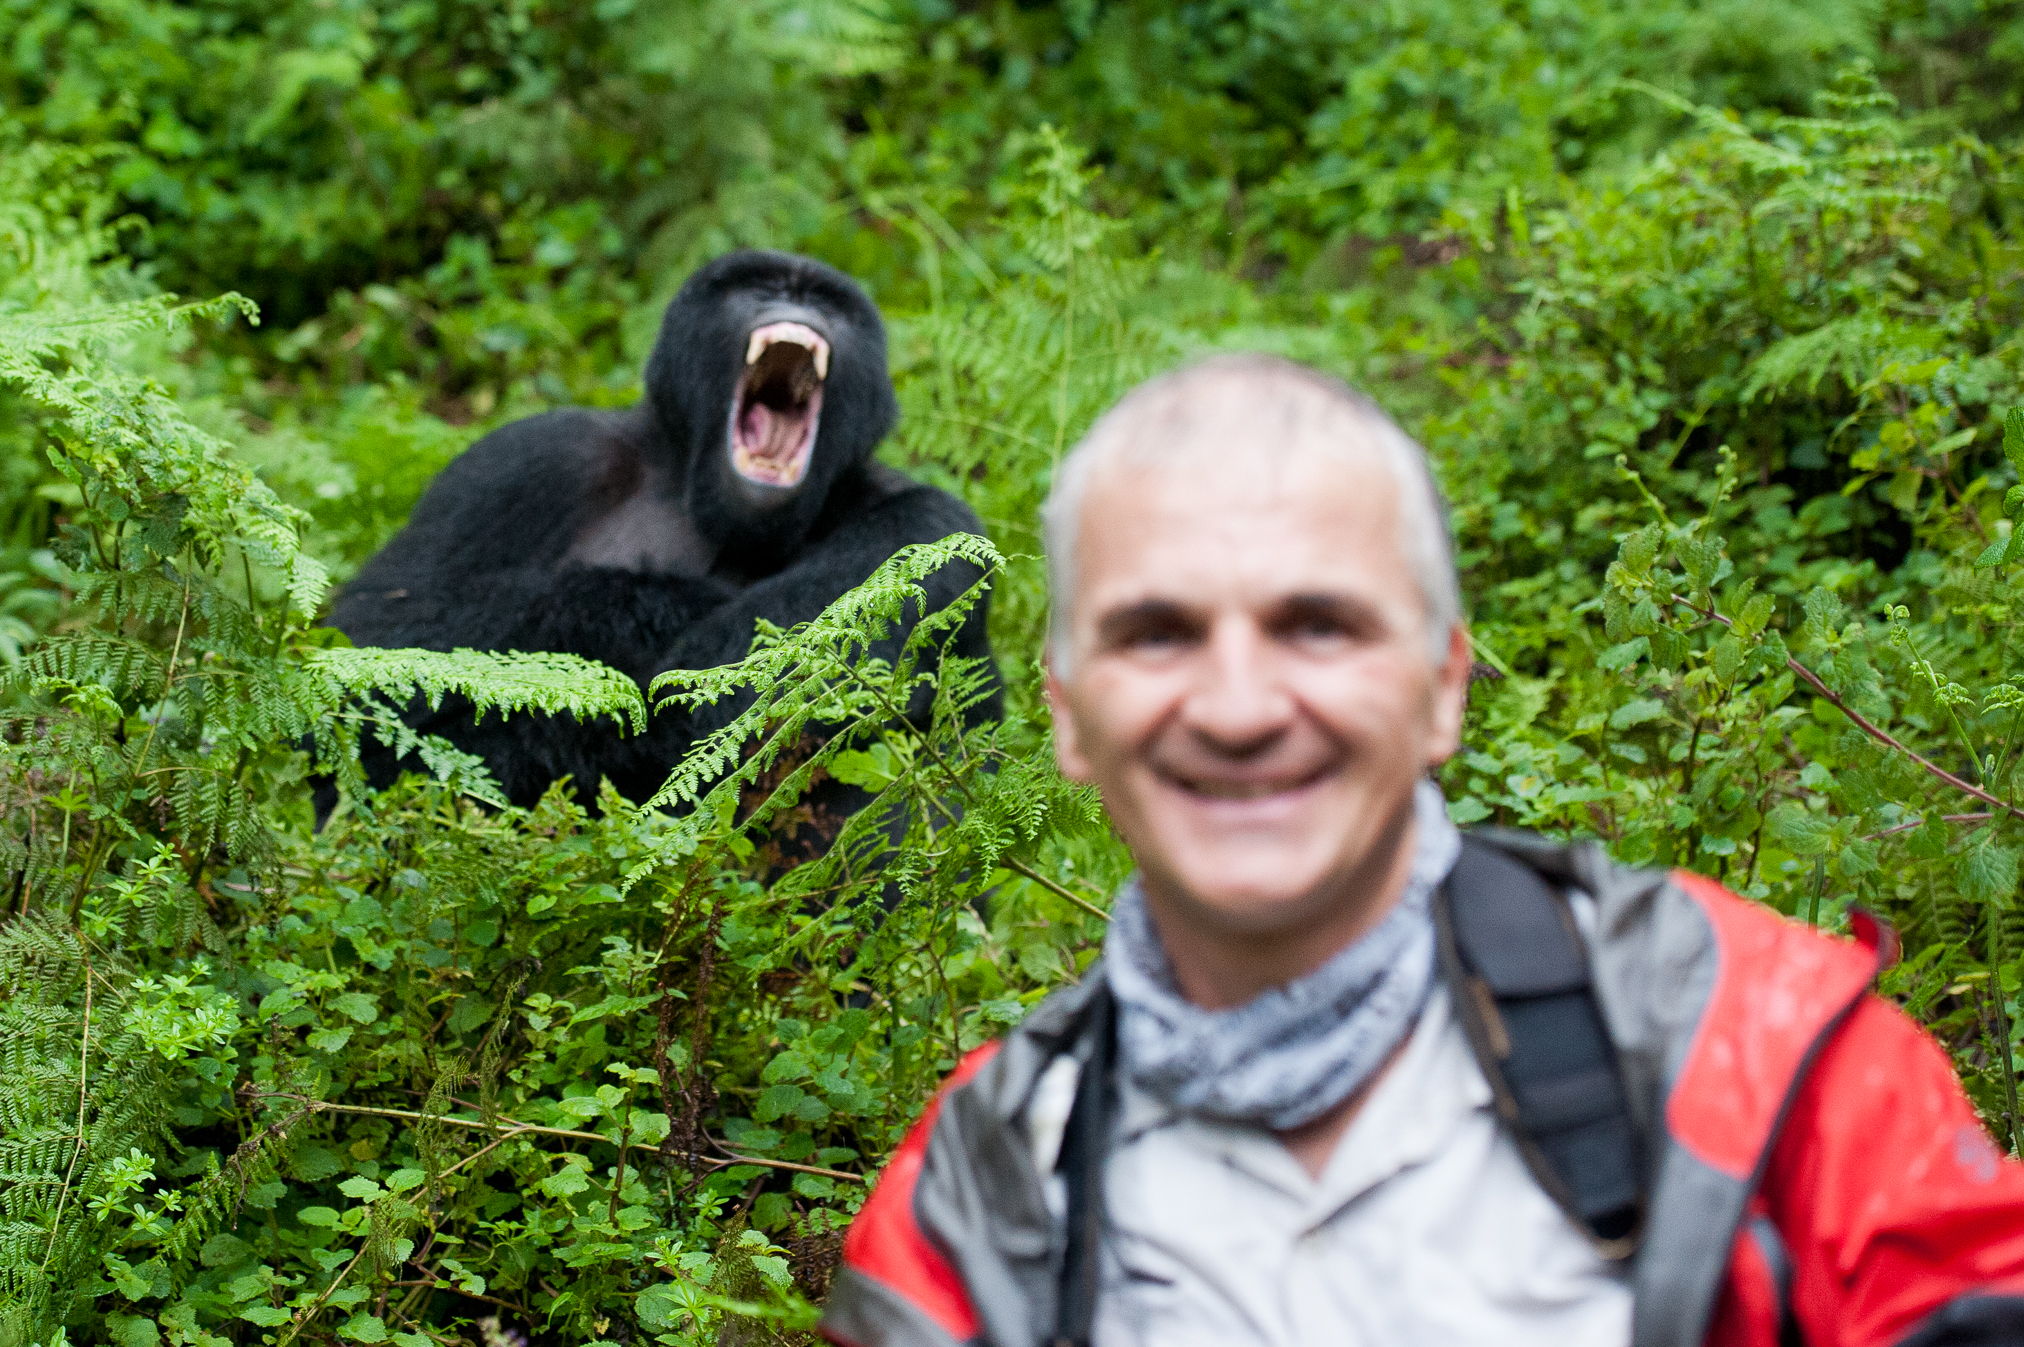
Are you ready for Africa?
We tailor holidays to suit you.